What Motherboard Have I Got Identify Your P C B Model Accurately
Table of Contents
- Visual Identification of Motherboard Components and Model Information
- Standard Locations for Motherboard Model and Manufacturer Labels
- Motherboard Model Naming Conventions by Manufacturer
- Photographic Documentation of Motherboard Labels Using a Smartphone
- Inspection of Underside and Edge Labels
- Using System Information Tools for Motherboard Detection
- Command-Line Methods for Motherboard Identification
- Third-Party Tools for Motherboard Identification
- Extracting Motherboard Details from BIOS/UEFI
- Decoding Motherboard Specifications from Model Numbers
- Structure of Motherboard Model Names
- Retrieving Full Specifications via Manufacturer Websites
- Template for Documenting Key Specifications from Model Numbers
- FAQ
- Where can I find information about the motherboard in my computer?
- Is there a way to see what motherboard I have without opening my computer?
- How can I check what motherboard I have on Windows?
- How can I see which motherboard I have in my laptop or desktop?
- How can I figure out what motherboard I have if I don’t have any software?
- Why is it called a motherboard and not a fatherboard?
Determining the exact motherboard model in your system is essential for compatibility checks, upgrades, or troubleshooting hardware issues. Whether you’re preparing for a CPU or RAM upgrade or resolving driver conflicts, knowing your motherboard’s specifications ensures seamless performance and avoids costly mistakes. This guide provides a structured approach to identifying your motherboard through visual inspection, system tools, and model number decoding—covering methods for all technical skill levels, from beginners to advanced users.
Motherboards serve as the backbone of any PC, integrating critical components like the CPU, RAM, and storage while defining hardware limitations. Yet, their model numbers—often obscured by small print or complex naming conventions—can be challenging to locate. This guide bridges that gap by offering practical techniques, from leveraging built-in system utilities to interpreting manufacturer-specific labels. By mastering these methods, users can confidently verify their motherboard’s identity, unlocking access to accurate technical documentation, firmware updates, and compatibility resources.
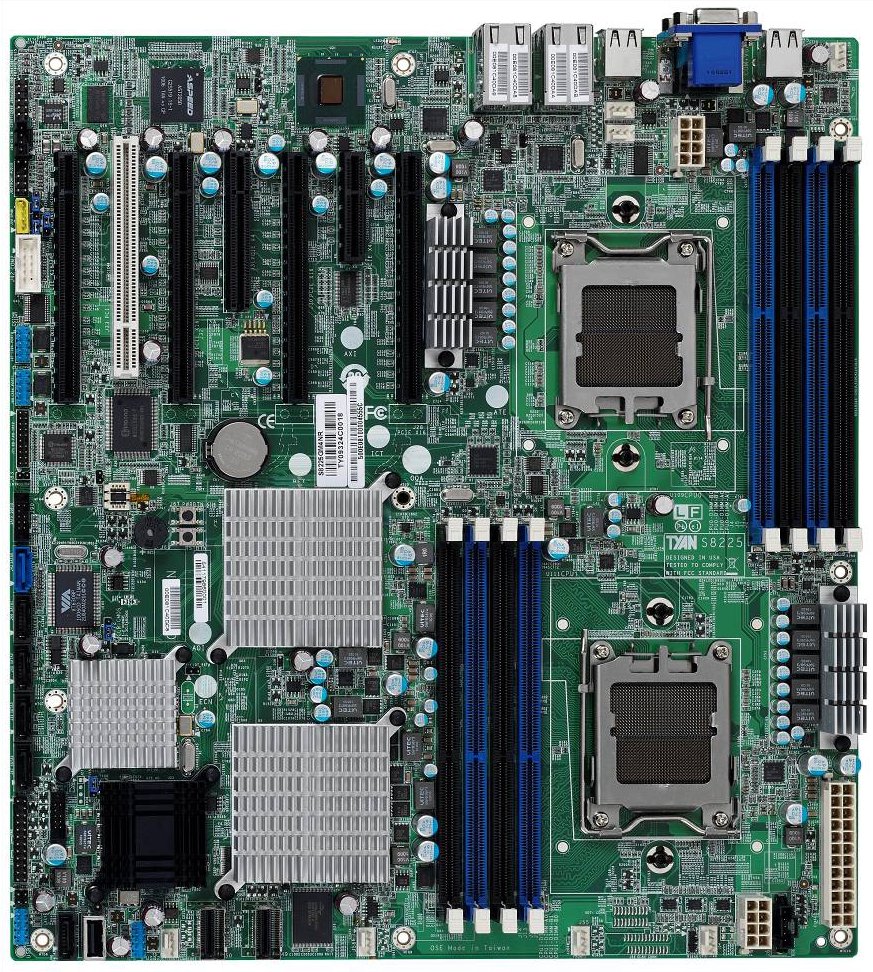
Visual Identification of Motherboard Components and Model Information
Motherboard identification relies heavily on visual inspection of printed labels and component placements, as these provide direct access to the model name, manufacturer details, and serial numbers. Accurate identification is critical for compatibility checks, BIOS updates, and troubleshooting hardware issues. The following structured approach ensures reliable extraction of information from the printed circuit board (PCB) without physical damage or electrical risks.Standard Locations for Motherboard Model and Manufacturer Labels
Motherboard manufacturers adhere to consistent labeling conventions, though exact positions may vary by model series. The most common locations for model information include:Key Consideration:
Labels near high-power components (e.g., VRM heatsinks, MOSFETs) may be obscured by thermal pads or shielding. Always prioritize areas with clear, non-reflective text for reliable reading.
Motherboard Model Naming Conventions by Manufacturer
Each manufacturer employs a distinct format for model naming, combining alphanumeric codes to indicate chipset, features, and series. Below is a comparative table of common conventions:| Brand | Label Location | Format Description | Example | Decoded Meaning |
|---|---|---|---|---|
| ASUS | Near CPU socket or I/O shield |
|
PRIME Z690-P D4 | Prime series, Z690 chipset, 4th revision |
| MSI | Near RAM slots or BIOS chip |
|
MAG B550 TOMAHAWK | MAG series, B550 chipset, Tomahawk model |
| Gigabyte | Under I/O shield or near 24-pin connector |
|
AORUS Z790 ELITE AX | AORUS series, Z790 chipset, Elite model with AX Wi-Fi |
| ASRock | Near CPU socket or BIOS chip |
|
Taichi X570 | Taichi series, X570 chipset |
Suffixes like "-UD" (ASUS), "-Gaming" (MSI), or "-ELITE" (Gigabyte) often indicate feature sets (e.g., VRM quality, connectivity options). Cross-referencing with the manufacturer’s official documentation is recommended for ambiguous codes.
Photographic Documentation of Motherboard Labels Using a Smartphone
High-resolution photography is essential for capturing small or obscured text. The following method ensures clarity and minimizes distortion:Recommended Settings and Tools:
Step-by-Step Process:
1. Positioning:
Hold the phone perpendicular to the label, ensuring the entire text is in frame. Avoid tilting, which distorts perspective.
2. Zoom and Magnification:
Tap the label area on the screen to lock focus. In Pro Mode, set aperture to f/2.0–f/2.8 for depth of field.
4. Exposure Compensation:
Adjust exposure +0.3 to +0.7 EV to prevent underexposure of dark text on reflective PCBs.
5. Multiple Angles:
Capture three shots per label:
Example Workflow for a BIOS Chip Label:
Safety Precaution:
Inspection of Underside and Edge Labels
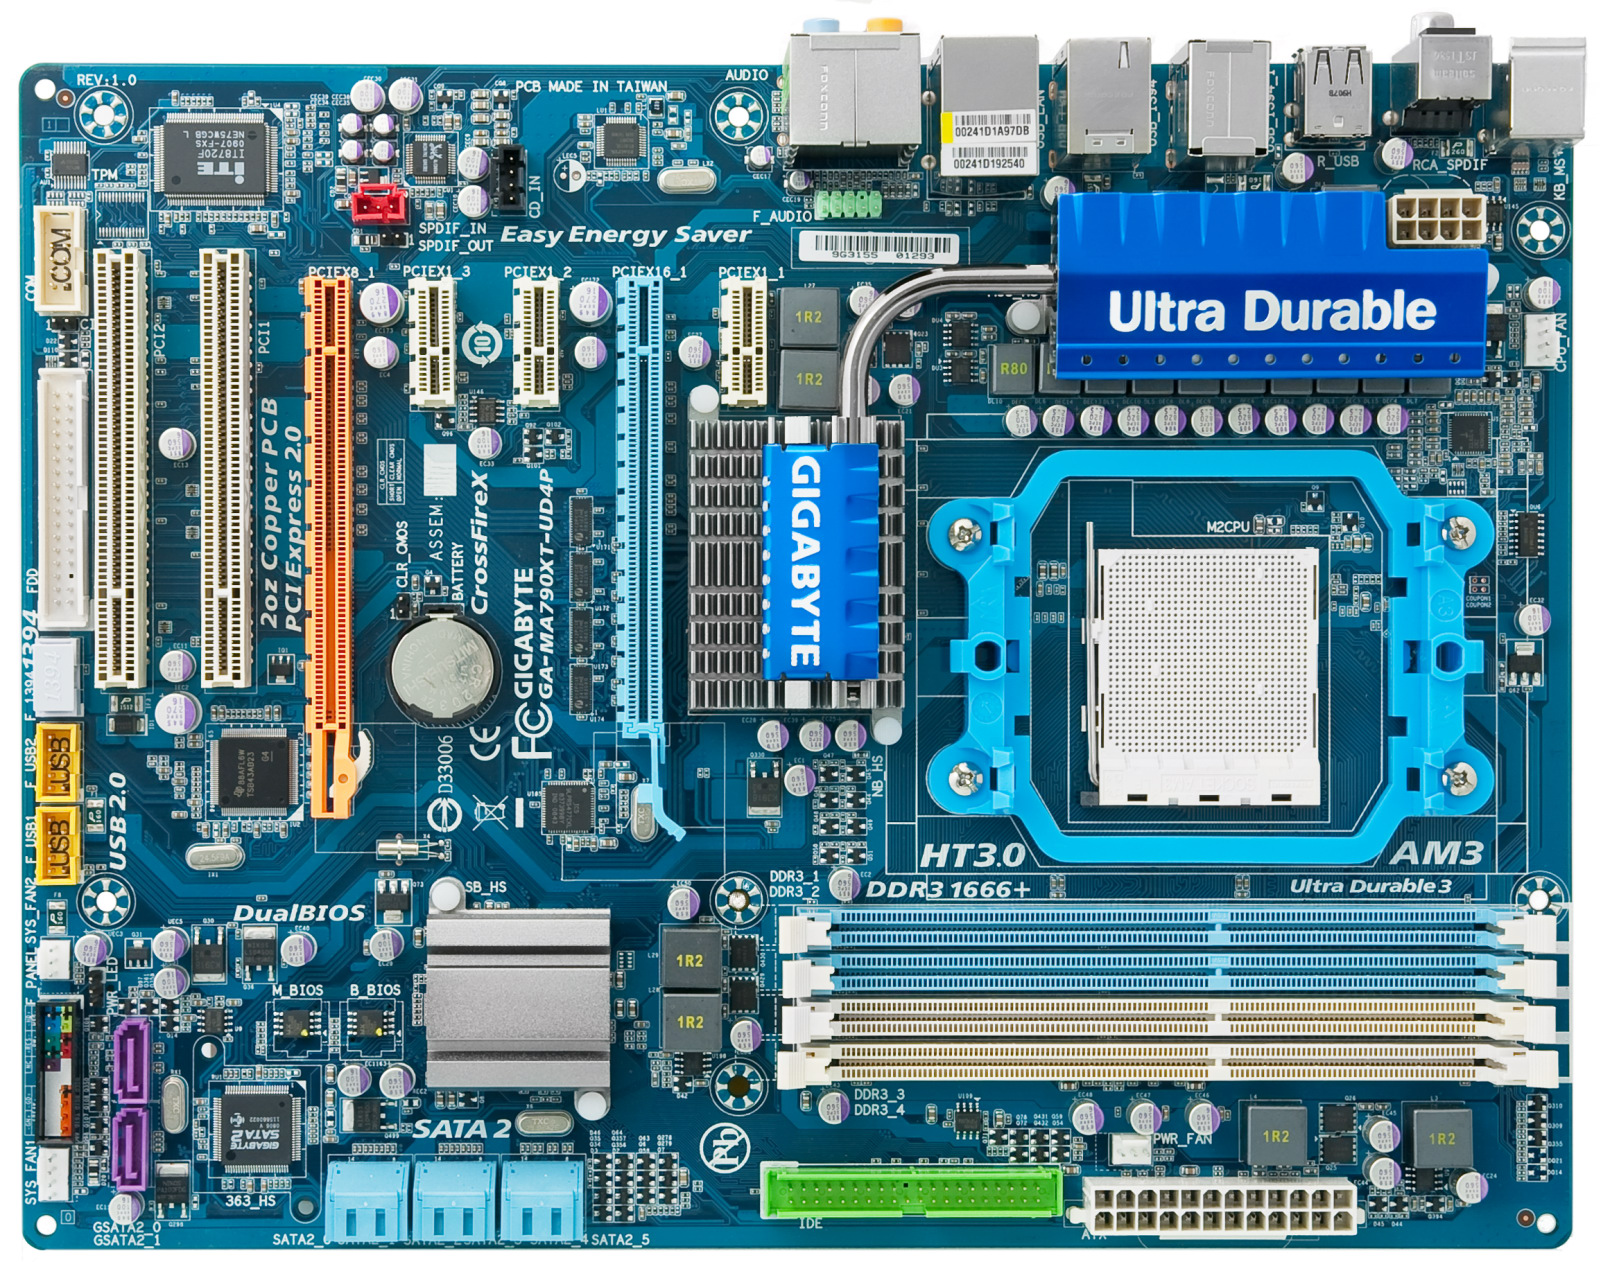
Some motherboards feature additional labels on the underside or edge, often containing:Procedure:
1. Removal from Case:
Using System Information Tools for Motherboard Detection
System information tools provide automated methods to identify motherboard specifications without physical inspection, reducing the risk of misinterpretation or damage. These tools leverage system APIs, hardware queries, or firmware interfaces to extract model, manufacturer, and component details. Accuracy varies based on the tool’s access level, driver support, and compatibility with legacy systems. Below are structured approaches for Windows, macOS/Linux, and third-party utilities, along with BIOS/UEFI-based verification and cross-referencing techniques.Command-Line Methods for Motherboard Identification
Native system commands offer direct access to hardware metadata stored in the SMBIOS/DMI tables, ensuring minimal dependency on third-party software. Below are verified commands for Windows, macOS, and Linux, including formatted output examples for clarity.Windows (PowerShell/CMD)
Windows exposes motherboard details via WMI (Windows Management Instrumentation) and System Information (SI) commands. These methods require no installation and work across modern and legacy systems.
Basic WMI Query for Product and Manufacturer
`wmic baseboard get product,manufacturer`
Output Example:Product Manufacturer
ASUS PRIME Z690-A ASUSTeK COMPUTER INC.
Extended DMI Data via PowerShellmacOS/Linux (DMI Decode)
`Get-WmiObject -Class Win32_BaseBoard | Select-Object Manufacturer, Product, Version, SerialNumber`
Output Example:Manufacturer : ASUSTeK COMPUTER INC.
Product : PRIME Z690-A
Version : Rev X.0x
SerialNumber : 1234567890ABC
Linux and macOS rely on `dmidecode` (part of the `dmidecode` package) to parse DMI tables. macOS users may need to install it via Homebrew (`brew install dmidecode`).
Baseboard Information (Linux/macOS)Alternative for Linux: `lshw`
`sudo dmidecode -t baseboard`
Output Example:# dmidecode 3.4
Getting SMBIOS data from sysfs.
SMBIOS 3.0.0 present.Handle 0x0002, DMI type 2, 15 bytes
Base Board Information
Manufacturer: Gigabyte Technology Co., Ltd.
Product Name: B550M DS3H
Version: x.x
Serial Number: Default string
Asset Tag: Default string
Features:
Board is a hosting board
Board is replaceable
Location In Chassis: Default string
Chassis Handle: 0x0003
Type: Motherboard
Contained Object Handles: 0
The `lshw` tool provides a hierarchical view of hardware, including motherboard details. Use the `-class motherboard` flag for concise output.
Motherboard Summary via `lshw`
`sudo lshw -class motherboard -short`
Output Example:H/W path Device Class Description
======================================================
motherboard B550M DS3H (Socket AM4)
/0 bus B550 Chipset
Third-Party Tools for Motherboard Identification
Third-party utilities often combine multiple detection methods (DMI, WMI, ACPI tables) and provide user-friendly interfaces. However, their accuracy depends on up-to-date databases, driver support, and access permissions. Below is a comparative analysis of popular tools, including their detection methods and limitations.Comparison Table: Third-Party Tools for Motherboard Detection
| Tool | Detection Method | Limitations |
|---|---|---|
| CPU-Z |
|
|
| HWiNFO |
|
|
| Speccy (by Piriform) |
|
|
| DXDiag (Windows) |
|
|
Extracting Motherboard Details from BIOS/UEFI
The BIOS/UEFI firmware contains the most authoritative hardware metadata, including motherboard model, revision, and chipset details. Accessing this information requires navigating the firmware interface, which varies by manufacturer (e.g., AMI, Phoenix, Insyde). Below are general steps with descriptions of key sections to inspect.Steps to Access Motherboard Information in BIOS/UEFI
1. Enter BIOS/UEFI Setup
Restart the system and press the designated key (e.g., Del, F2, F12, Esc) during the POST sequence. Common keys are displayed on-screen.
2. Navigate to Relevant Menus
Most BIOS/UEFI interfaces organize hardware details under:
3. Locate Motherboard-Specific Sections
Example Screenshots (Descriptive)
Decoding Motherboard Specifications from Model Numbers
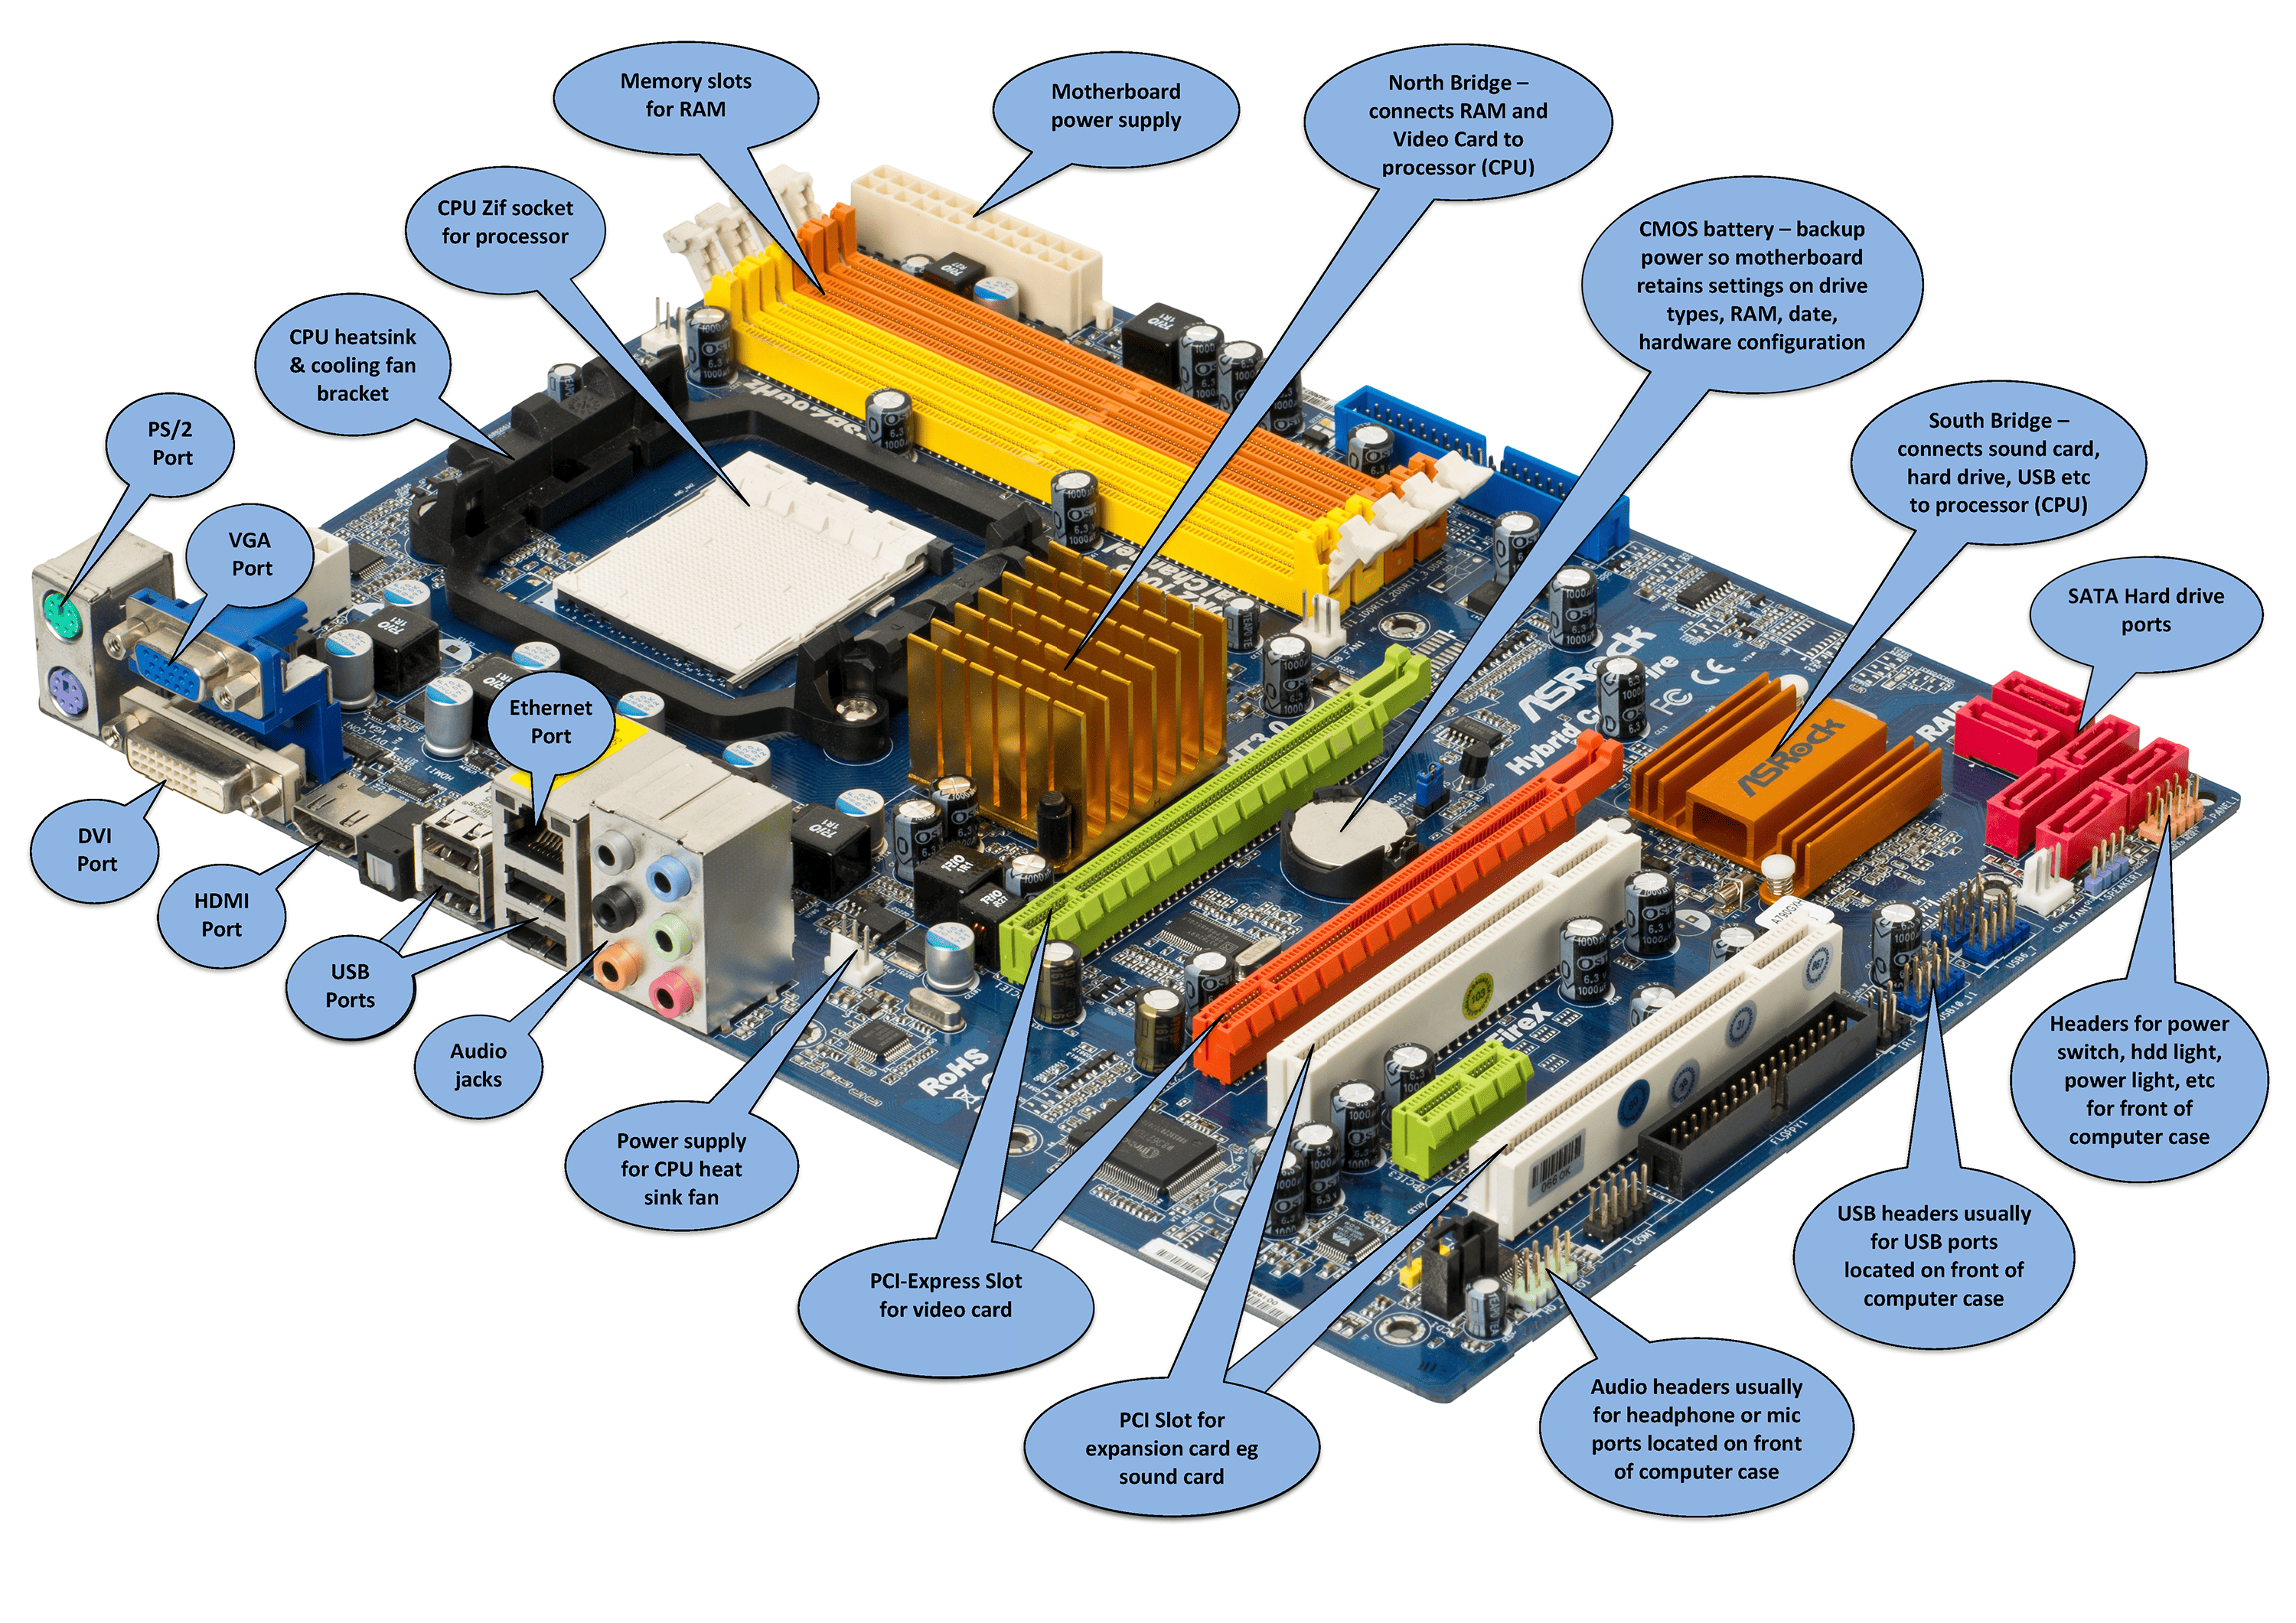
Motherboard model numbers encode critical technical details about chipsets, supported processors, memory types, and expansion capabilities. Understanding this structure allows users to cross-reference specifications without relying solely on physical inspection or manufacturer databases. Below, the breakdown of model naming conventions is analyzed, alongside methods for retrieving full specifications, verifying compatibility, and digitizing obscured model information.Structure of Motherboard Model Names
Motherboard model names follow a standardized yet brand-specific format, typically combining:The following table maps common brand conventions to their segment breakdowns:
| Brand | Segment Breakdown | Example |
|---|---|---|
| ASUS |
|
ASUS ROG Strix B550-F Gaming |
| MSI |
|
MSI MPG B550 Gaming Edge Wi-Fi |
| Gigabyte |
|
Gigabyte AORUS B550M DS3H |
| Intel |
|
Intel Z590 Extreme |
Retrieving Full Specifications via Manufacturer Websites
Manufacturer support pages provide detailed specifications for partial or full model numbers. The process involves:1. Navigating to the Support Page:
Example Workflow for Older Models:
Template for Documenting Key Specifications from Model Numbers
Extracting specifications from model names requires cross-referencing with manufacturer databases. Below is a checklist for documenting critical attributes:| Specification | Derived From | Example Value |
|---|---|---|
| Socket Type | Chipset (e.g., B550 = AM4, Z590 = LGA 1200) | AM4 (AMD) / LGA 1200 (Intel) |
| Supported RAM Type | Chipset + Series (e.g., B550 = DDR4, X570 = DDR4 up to 3200MHz) | DDR4-3200 / DDR4-3600 |
| Max RAM Capacity | Motherboard series (e.g., ROG = 128GB, PRIME = 64GB) | 128GB (dual-channel) |
| PCIe Slots (Version/Count) | Chipset + Form Factor (e.g., B550 = PCIe 4.0 x16 + PCIe 3.0 x4) | 1x PCIe 4.0 x16, 1x PCIe 3.0 x4 |
| M.2 Slots (Type/Speed) | Series (e.g., TOMAHAWK = PCIe 4.0 x4, AORUS = NVMe + SATA) | 2x M.2 (PCIe 4.0 x4) |
| Expansion Slots (SATA, USB, etc.) | Model suffix (e.g., "Wi-Fi" = Wi-Fi 6, "RGB" = ARGB headers) | <
Leave a Comment
Comments are moderated before appearing. The data you submit is processed according to the Privacy Policy of Voltefac.