Gluten Free Rolls: The Ultimate Guide to Delicious, Soft, and Fluffy Baking Without Gluten
Table of Contents
- Discover the Magic of Gluten Free Rolls: Soft, Fluffy, and Perfect Every Time
- The Science of Gluten-Free Rolls: Why They’re Different (And How to Make Them Work)
- Understanding Gluten-Free Flours
- The Role of Binders and Additives
- Hydration and Resting Time
- The Perfect Gluten Free Rolls Recipe: A Step-by-Step Guide
- Ingredients
- Instructions
- Troubleshooting Common Gluten Free Rolls Mistakes
- Problem: Rolls Are Dense or Heavy
- Problem: Rolls Are Gummy or Sticky
- Problem: Rolls Didn’t Rise Properly
- Problem: Rolls Are Dry or Crumbly
- Creative Variations: How to Elevate Your Gluten Free Rolls
- 1. Cheesy Garlic Pull-Apart Rolls
- 2. Cinnamon Swirl Rolls
- 3. Herb and Olive Oil Rolls
- 4. Everything Bagel Rolls
- 5. Sweet Potato Rolls
- 6. Savory Cheese and Chive Rolls
- Serving and Storing Gluten Free Rolls: Tips for Freshness
- Serving Suggestions
- Storage Tips
- Why Gluten Free Rolls Are Here to Stay
Discover the Magic of Gluten Free Rolls: Soft, Fluffy, and Perfect Every Time
Imagine biting into a warm, soft roll that melts in your mouth, but without the worry of gluten. For years, those with celiac disease, gluten sensitivity, or simply those seeking a healthier lifestyle have struggled to find a satisfying alternative to traditional wheat-based rolls. But times have changed! The world of gluten-free baking has evolved dramatically, and gluten free rolls are no longer an afterthought. They can be just as delicious, if not better, than their gluten-containing counterparts.

Whether you’re hosting a dinner party, preparing for a family gathering, or simply craving a comforting meal, mastering the art of making gluten free rolls will elevate your baking game. This guide will walk you through everything you need to know—from understanding gluten-free flours to perfecting your recipe, troubleshooting common issues, and even exploring creative variations. Let’s dive in!
The Science of Gluten-Free Rolls: Why They’re Different (And How to Make Them Work)

Gluten is the protein that gives traditional bread its elasticity and chewiness. Without it, gluten-free rolls can turn out gummy, dense, or crumbly. But don’t let that discourage you! The secret lies in understanding the properties of gluten-free flours and how to mimic the structure of gluten.
Understanding Gluten-Free Flours
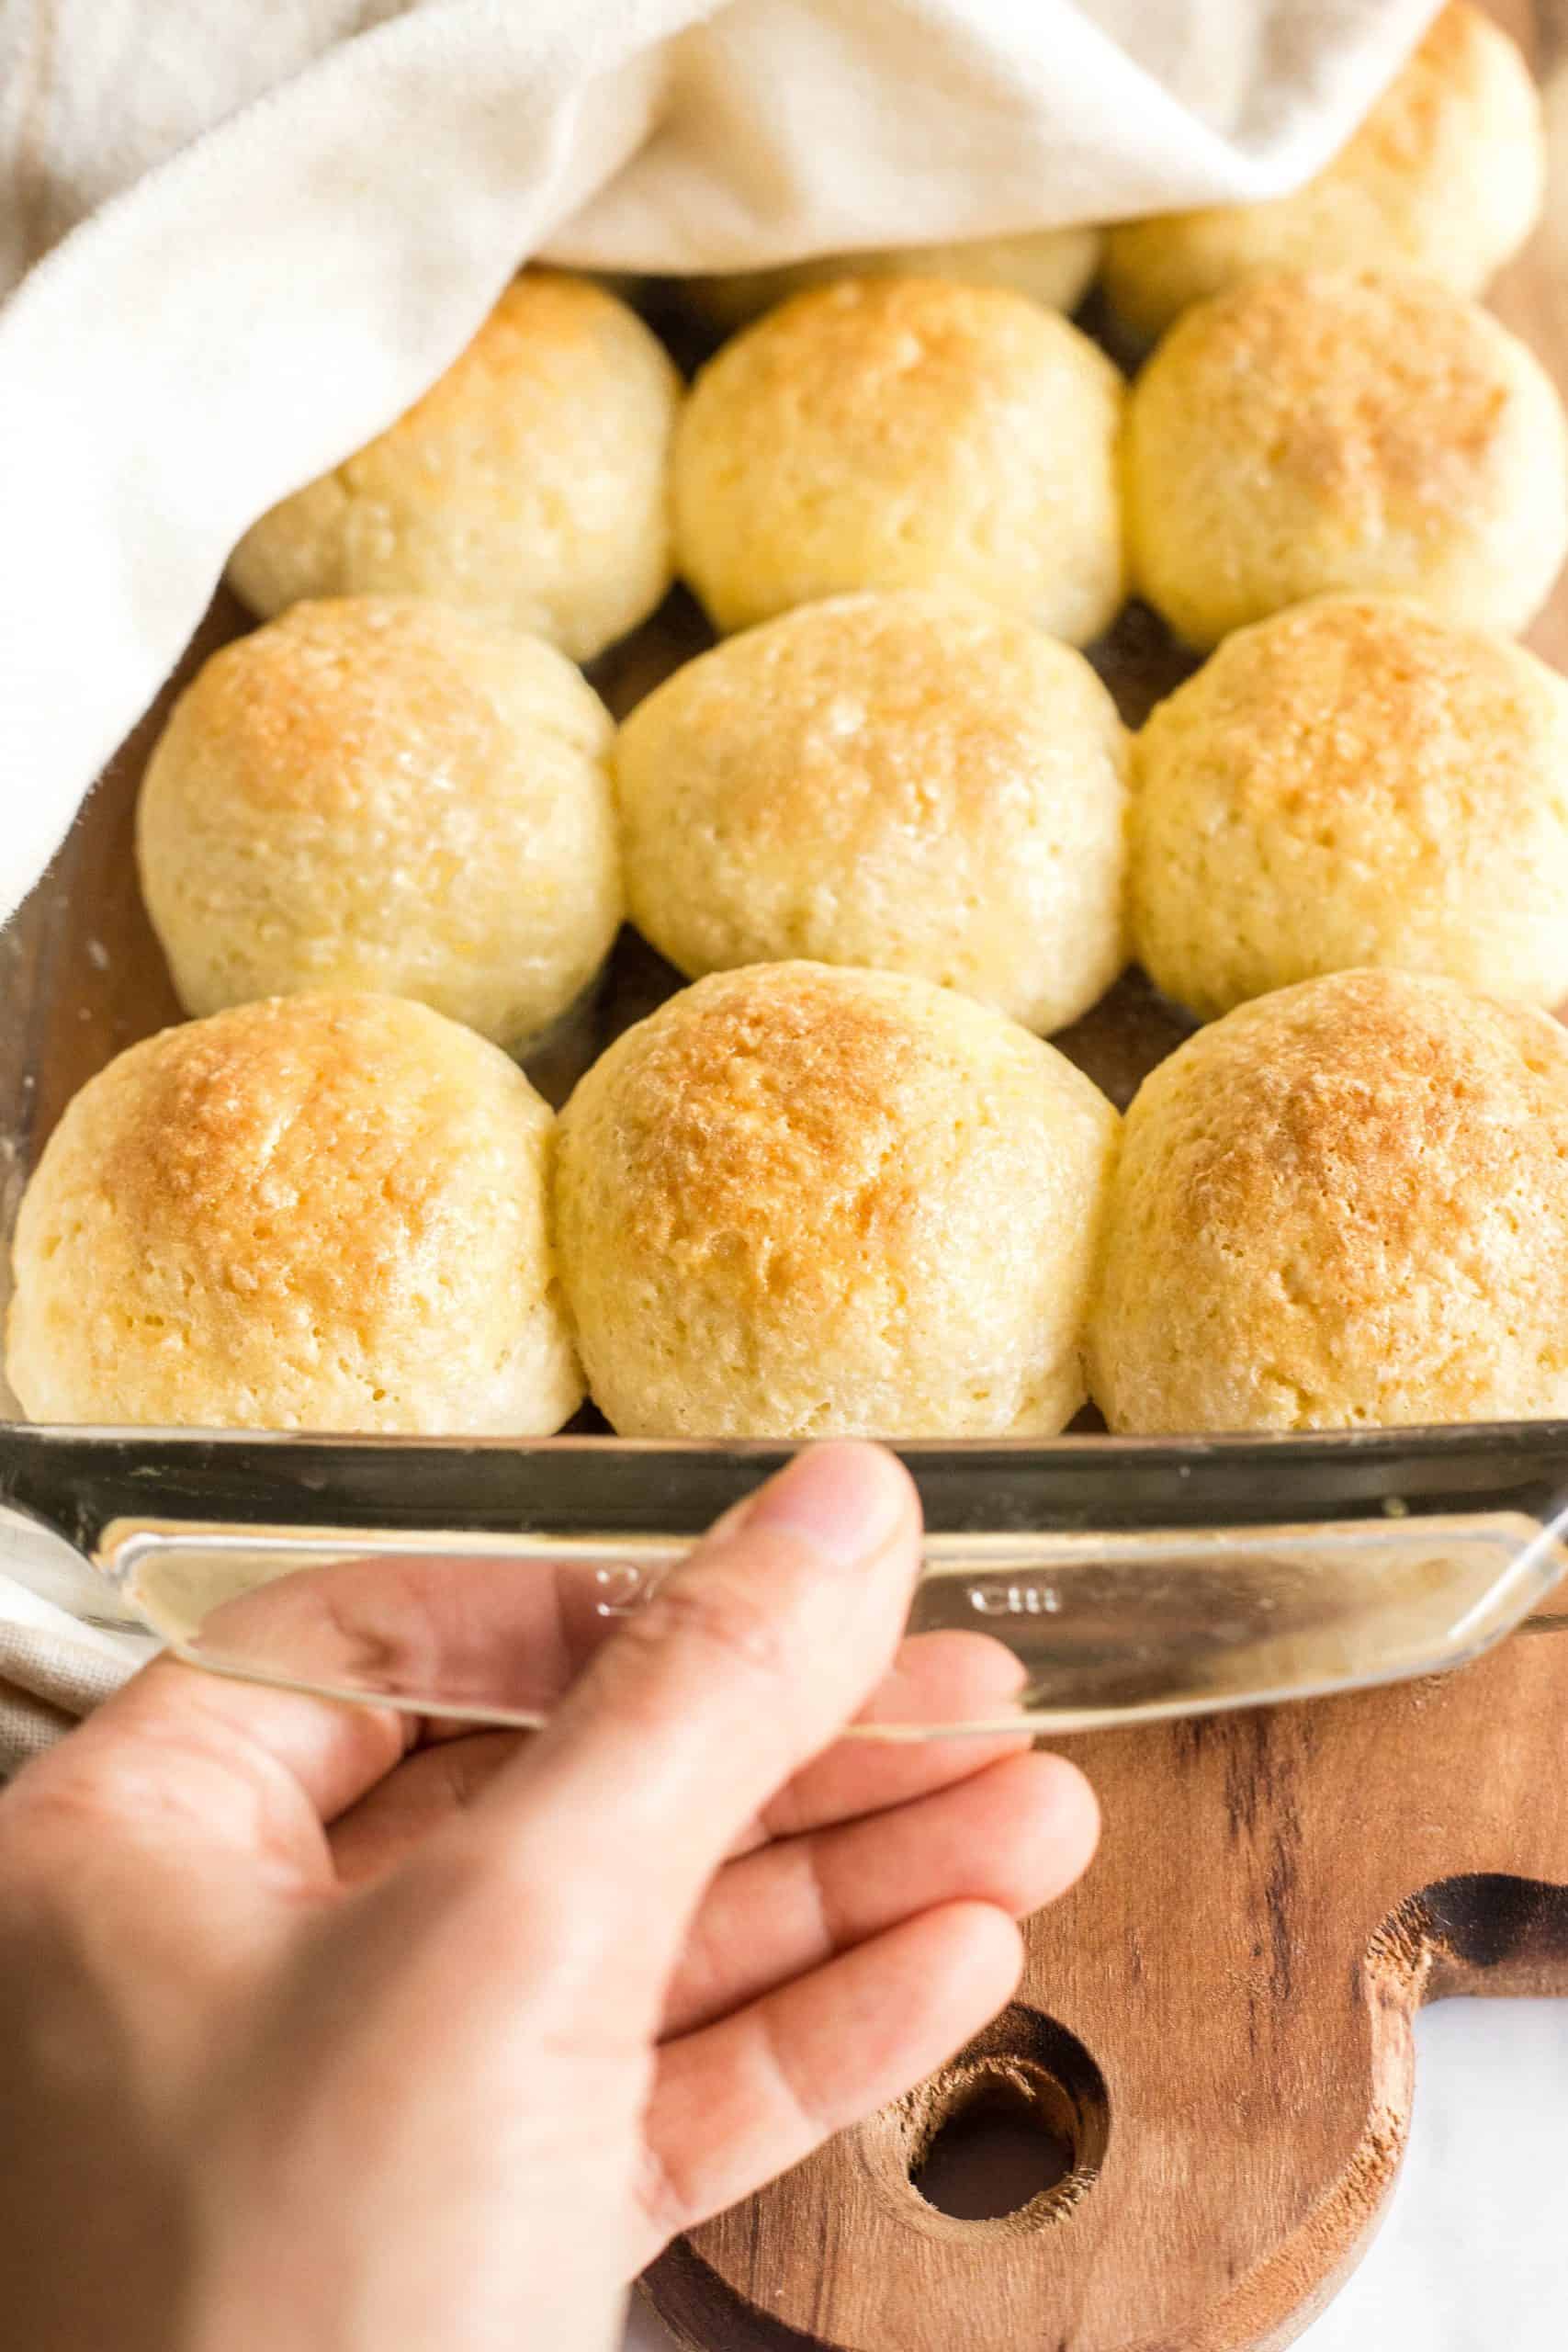
Not all gluten-free flours are created equal. Here are the most popular options for making gluten free rolls, along with their pros and cons:
- Almond Flour: Rich in flavor and healthy fats, but can be expensive and lacks the binding properties of gluten.
- Coconut Flour: High in fiber and protein, but absorbs a lot of liquid and requires extra eggs or binders.
- Rice Flour: Light and mild in taste, but often results in a denser texture unless combined with other flours.
- Tapioca Starch: Adds moisture and chewiness, making it a great addition to gluten-free recipes.
- Xanthan Gum or Psyllium Husk Powder: These binders are essential for mimicking gluten’s elasticity. Xanthan gum adds stickiness, while psyllium husk improves texture and digestibility.
The Role of Binders and Additives
To achieve that perfect, fluffy roll, you’ll need more than just flour. Here’s what you should include:
- Xanthan Gum or Guar Gum: Use ½ to 1 teaspoon per cup of gluten-free flour to improve elasticity.
- Psyllium Husk Powder: Adds moisture retention and a lighter texture. Start with 1 tablespoon per recipe.
- Eggs: Act as a natural binder and add richness to the rolls.
- Butter or Oil: Adds moisture and tenderness. Butter works well for a classic taste, while oil keeps rolls softer longer.
- Milk or Yogurt: Enhances flavor and improves texture.
Hydration and Resting Time
Gluten-free dough behaves differently than traditional dough. It’s crucial to:
- Use slightly more liquid than you think you need—gluten-free flours absorb moisture differently.
- Let the dough rest for at least 30 minutes (or up to 2 hours in the fridge). This allows the flours to hydrate fully and improves texture.
- Avoid overmixing, as gluten-free dough can become tough if worked too much.
The Perfect Gluten Free Rolls Recipe: A Step-by-Step Guide
Now that you understand the science, let’s get baking! This recipe yields 12 soft, fluffy gluten free rolls that are perfect for any occasion. The key ingredients include a blend of gluten-free flours, xanthan gum, eggs, and a touch of honey for sweetness.
Ingredients
- 1 ½ cups (180g) gluten-free all-purpose flour blend (ensure it contains xanthan gum)
- ½ cup (60g) tapioca starch
- 1 tablespoon (10g) psyllium husk powder
- 1 teaspoon (5g) baking powder
- ½ teaspoon (3g) salt
- 2 large eggs, room temperature
- ¼ cup (60ml) melted butter or coconut oil
- ½ cup (120ml) warm milk (dairy or plant-based)
- 2 tablespoons (30ml) honey or maple syrup
- 1 teaspoon (5ml) vanilla extract
- 1 tablespoon (7g) active dry yeast (or instant yeast)
- 1 tablespoon (15ml) warm water (to activate yeast)
Instructions
- Activate the Yeast: In a small bowl, mix the yeast with warm water and 1 teaspoon of honey. Let it sit for 5–10 minutes until foamy.
- Mix the Dry Ingredients: In a large bowl, whisk together the gluten-free flour, tapioca starch, psyllium husk powder, baking powder, and salt.
- Combine Wet Ingredients: In another bowl, whisk the eggs, melted butter, milk, remaining honey, and vanilla extract until smooth. Add the activated yeast mixture and stir well.
- Make the Dough: Gradually pour the wet ingredients into the dry ingredients. Mix gently until just combined (do not overmix). The dough will be sticky.
- Let It Rest: Cover the bowl with a damp towel and let the dough rest at room temperature for 30 minutes, or refrigerate for up to 2 hours for a slower rise.
- Shape the Rolls: Preheat your oven to 375°F (190°C) and line a baking sheet with parchment paper. Lightly grease your hands and shape the dough into 12 equal-sized rolls. Place them on the baking sheet, spacing them about 1 inch apart.
- Proof the Rolls: Cover the rolls with a damp towel and let them rise for another 20–30 minutes, or until puffy.
- Bake to Perfection: Bake for 18–22 minutes, or until the rolls are golden brown and sound hollow when tapped on the bottom.
- Cool and Serve: Let the rolls cool on a wire rack for 5 minutes before serving. Enjoy warm with butter, jam, or your favorite filling!
Troubleshooting Common Gluten Free Rolls Mistakes
Even with the best recipe, gluten-free baking can be tricky. Here’s how to fix common issues:
Problem: Rolls Are Dense or Heavy
This usually happens when there’s not enough moisture or the dough wasn’t rested properly.
- Add 1–2 tablespoons of extra milk or water to the dough.
- Ensure you’re using a blend of flours (e.g., rice flour + almond flour + tapioca starch).
- Let the dough rest longer (up to 2 hours in the fridge) to improve texture.
Problem: Rolls Are Gummy or Sticky
This can occur if the dough is overhydrated or lacks enough fat.
- Reduce the liquid by 1–2 tablespoons.
- Add an extra tablespoon of butter or oil.
- Ensure you’re using xanthan gum or psyllium husk powder as a binder.
Problem: Rolls Didn’t Rise Properly
Gluten-free dough often doesn’t rise as much as traditional dough, but these tips can help:
- Use instant yeast for quicker activation.
- Let the dough proof in a warm place (e.g., near a preheated oven with the light on).
- Avoid overhandling the dough when shaping.
Problem: Rolls Are Dry or Crumbly
This can happen if the dough was overmixed or baked too long.
- Brush rolls with melted butter or oil after baking for extra moisture.
- Store rolls in an airtight container with a slice of bread to prevent drying.
- Consider adding an extra egg yolk for richness.
Creative Variations: How to Elevate Your Gluten Free Rolls
Why stick to plain rolls when you can get creative? Here are some delicious ways to customize your gluten free rolls:
1. Cheesy Garlic Pull-Apart Rolls
Add ½ cup shredded cheddar cheese and 1 tablespoon minced garlic to the dough. Bake as usual, then drizzle with garlic butter after baking for a gooey, shareable treat.
2. Cinnamon Swirl Rolls
Mix 2 tablespoons cinnamon, ¼ cup brown sugar, and 2 tablespoons melted butter into a paste. Spread the dough with this mixture before rolling and baking.
3. Herb and Olive Oil Rolls
Brush baked rolls with a mix of olive oil, dried rosemary, thyme, and a pinch of salt for a savory twist.
4. Everything Bagel Rolls
Sprinkle the dough with everything bagel seasoning before baking for a crunchy, flavorful topping.
5. Sweet Potato Rolls
Replace ½ cup of the gluten-free flour with mashed sweet potato for naturally sweet, moist rolls.
6. Savory Cheese and Chive Rolls
Fold chopped chives and shredded mozzarella into the dough before shaping. Bake until golden and enjoy with a side of marinara sauce.
Serving and Storing Gluten Free Rolls: Tips for Freshness
Gluten-free rolls are best enjoyed fresh, but with the right storage techniques, you can keep them tasting great for days.
Serving Suggestions
- Serve warm with butter, jam, or honey for breakfast or brunch.
- Use as buns for burgers, sliders, or sandwiches.
- Fill with savory ingredients like roasted vegetables, cheese, or deli meats for a hearty meal.
- Pair with soups or stews for a comforting, gluten-free meal.
Storage Tips
- Room Temperature: Store in an airtight container for up to 3 days. To prevent drying, place a slice of bread or a damp paper towel in the container.
- Freezer: Freeze baked rolls for up to 3 months. Thaw at room temperature or reheat in the oven at 350°F (175°C) for 5–10 minutes.
- Reheating: Warm rolls in the oven, microwave (with a damp paper towel), or toaster for best results.
Why Gluten Free Rolls Are Here to Stay
The gluten-free movement has come a long way, and gluten free rolls are a testament to how far we’ve come. No longer are they an afterthought or a compromise—they’re a delicious, versatile, and essential part of any meal. Whether you’re baking for dietary restrictions, health benefits, or simply exploring new flavors, gluten-free rolls offer endless possibilities.
With the right ingredients, techniques, and a little patience, you can create rolls that rival (and sometimes surpass) their traditional counterparts. So, preheat your oven, gather your gluten-free flour blend, and get ready to bake rolls that everyone at the table will love. Happy baking!
Leave a Comment
Comments are moderated before appearing. The data you submit is processed according to the Privacy Policy of Voltefac.